Table of contents:
In the operating system settings, starting with Windows 8, it is required to provide additional permissions for applications to access the camera and microphone.
Windows 8
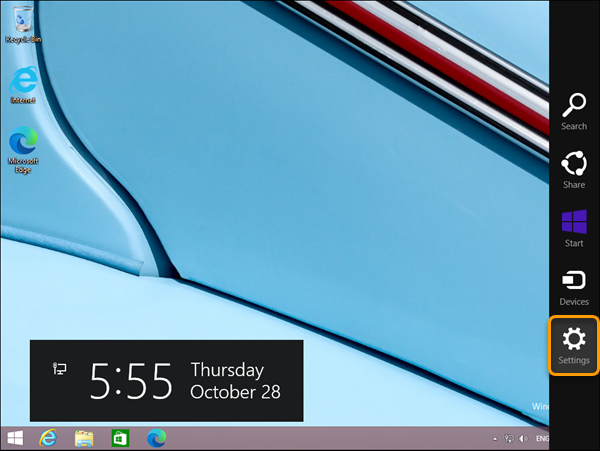
1. Move your cursor to the upper right corner of the screen to bring up the sidebar. Then click on Settings:
2. Select Change PC settings: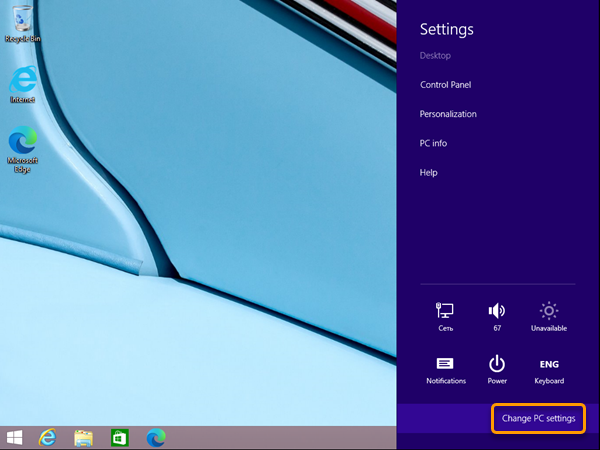
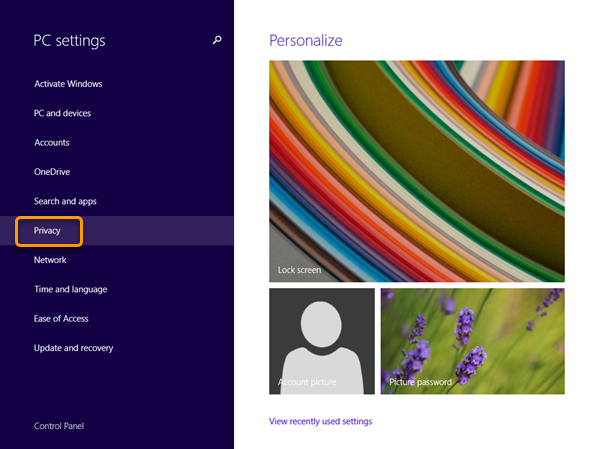
3. Go to Privacy:
4. Click Webcam and make sure the "Let apps use my webcam" slider is enabled: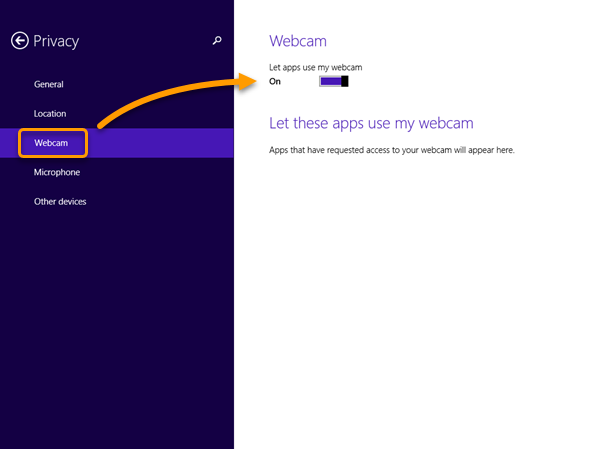
5. Go to the "Microphone" and make sure that in the "Let apps use my microphone" the switch is in the "On" position: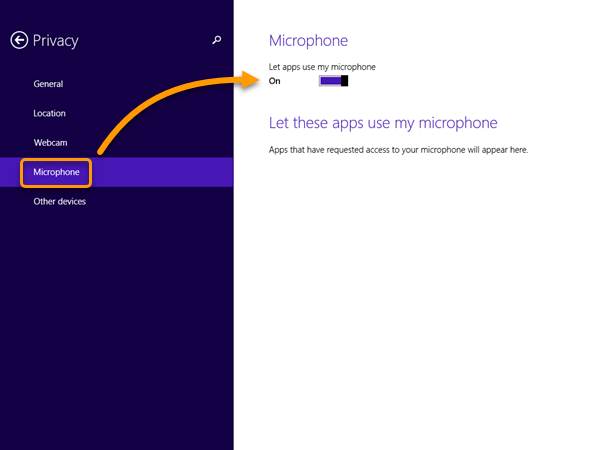
Windows 10
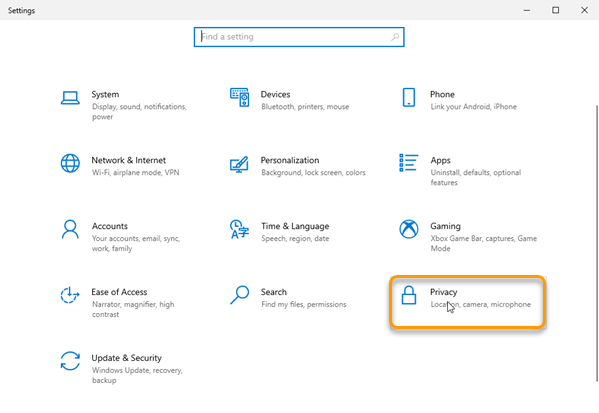
1. Click on Start > Settings:

2. Go to Privacy:
3. On the left, click on Camera, then make sure that the "Allow apps to access your camera" switch is On: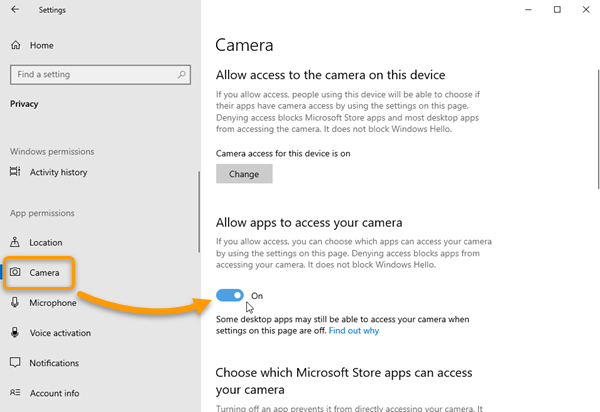
4. Scroll the page down and make sure that the "Desktop App Web Viewer" and "Allow desktop apps to access your camera" switch is also On:
5. Click on Microphone and make sure that the "Allow apps to access your microphone" switch is On:
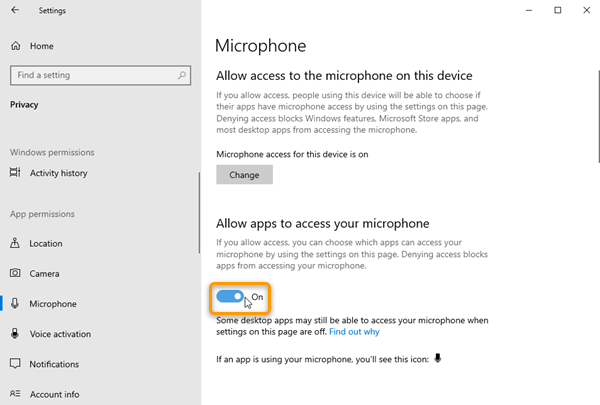
6. Scroll down and make sure that the "Desktop App Web Viewer" and "Allow desktop apps to access your microphone" switch is On:
Windows 11
1. Right-Click on Start > Settings:
2. Go to Privacy & security > Camera: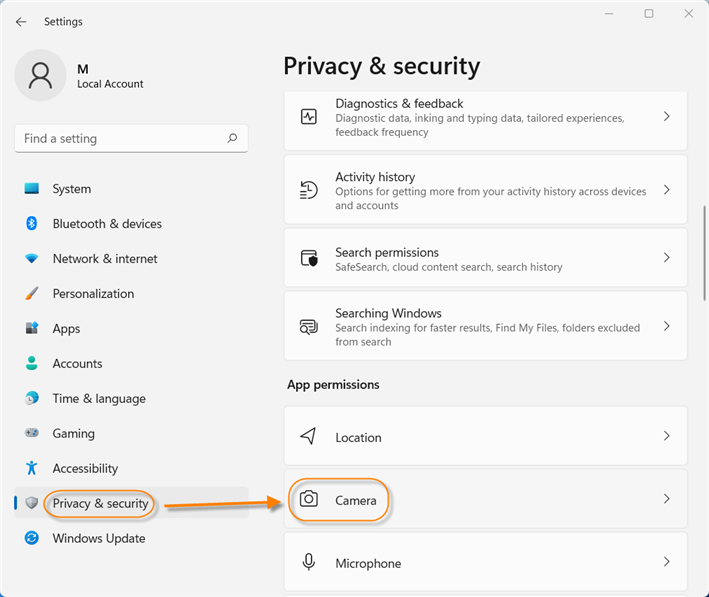
3. Make sure that the "Camera access", "Let apps access your camera" and "Desktop App Web Viewer" switches is On: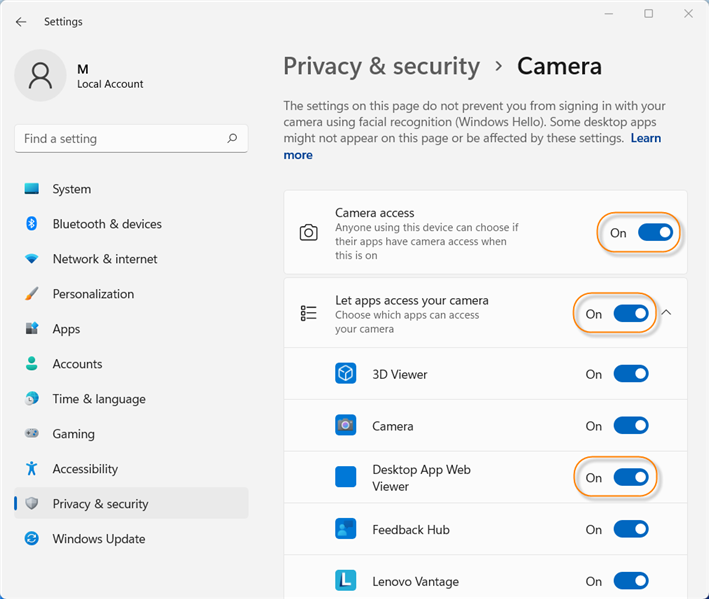
4. Scroll the page down and make sure that the "Let desktop apps access your camera" switch is also On: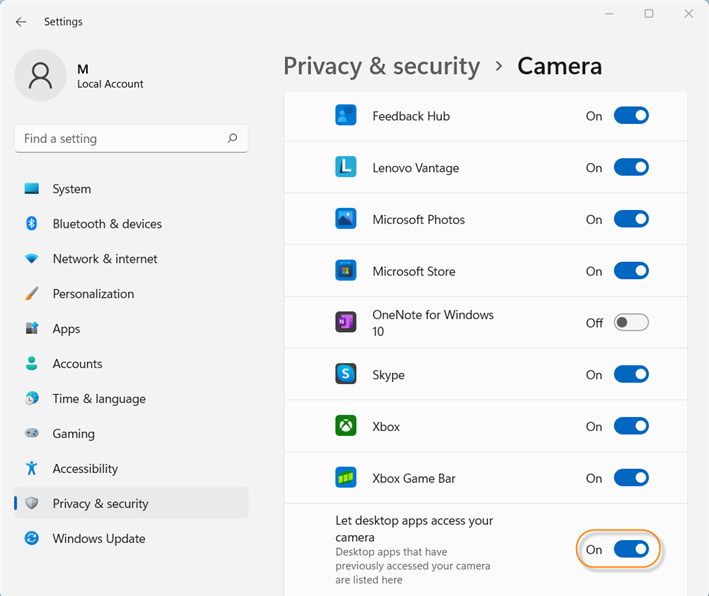
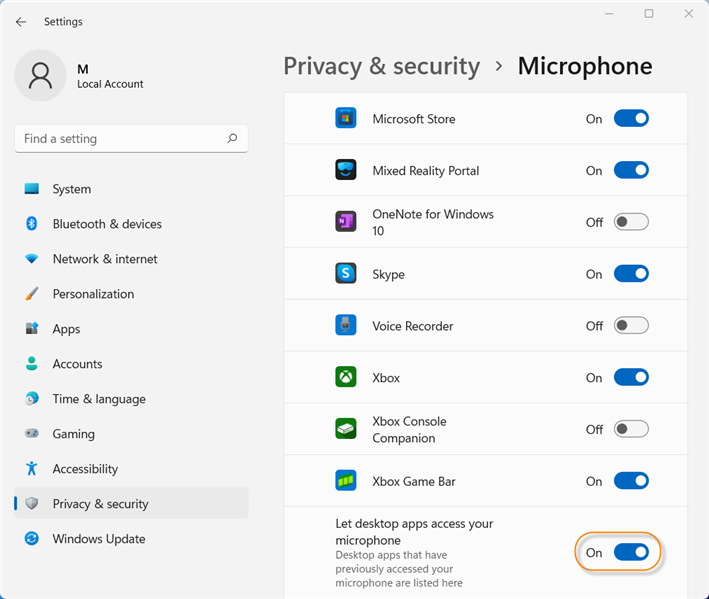
5. Go to Privacy & security > Microphone: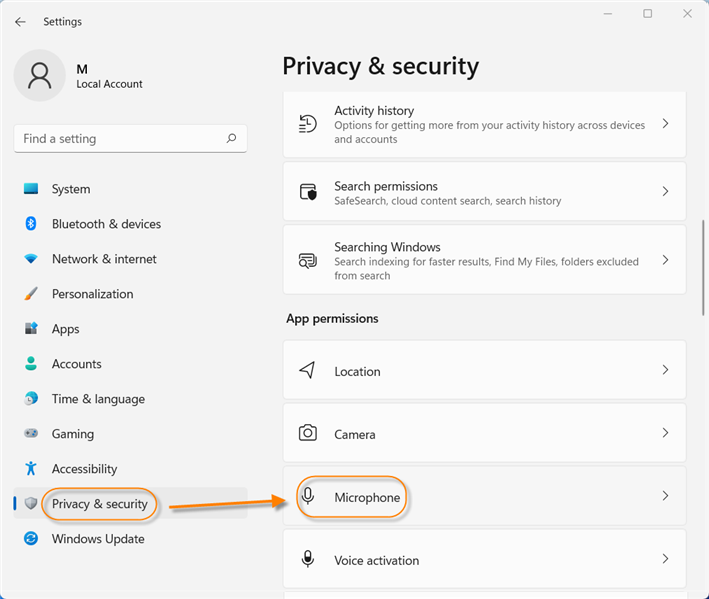
6. Make sure that the "Microphone access", "Let apps access your Microphone" and "Desktop App Web Viewer" switches is On: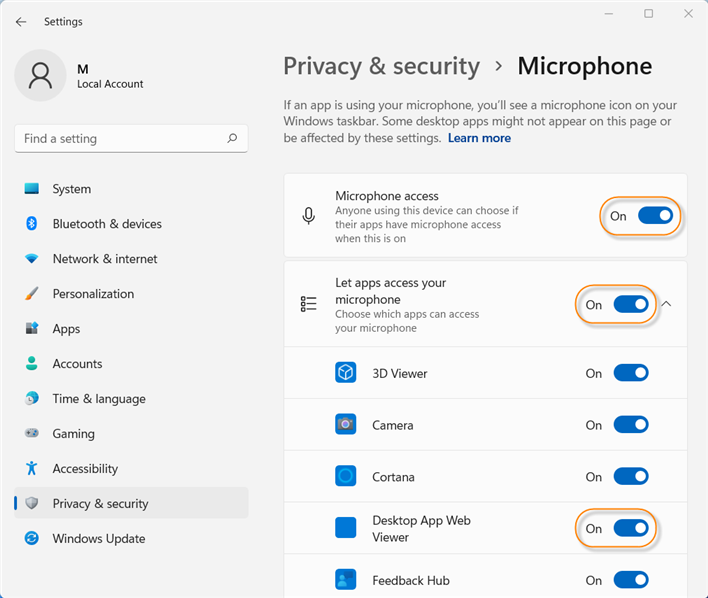
7. Scroll the page down and make sure that the "Let desktop apps access your microphone" switch is also On: