
This article provides instructions on how to create a class for your course in the Constructor LMS using Constructor Classroom.
- Log in to your LMS account and click Sign in:

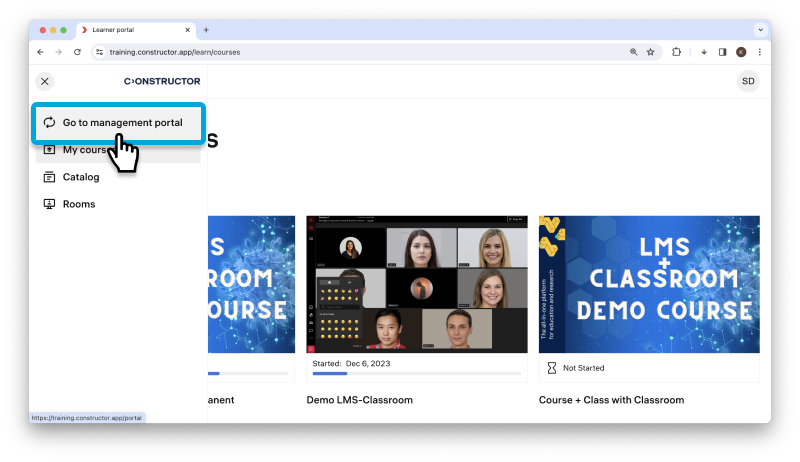
- Click Go to management portal, where you can create a class:
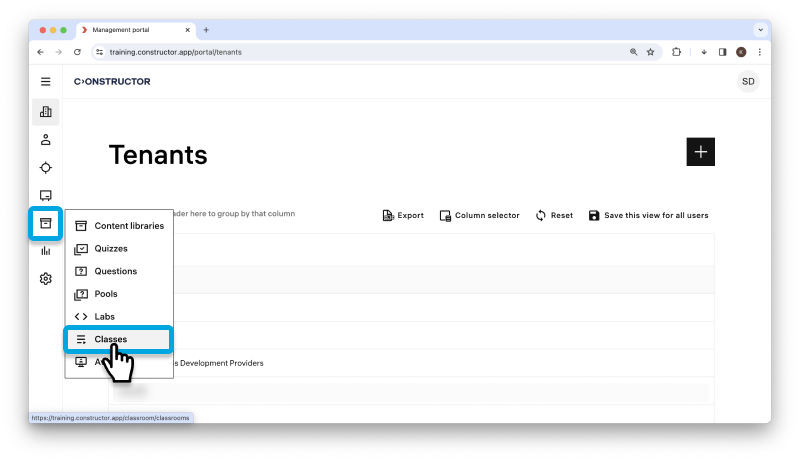
- On the left-side menu, click Classes:
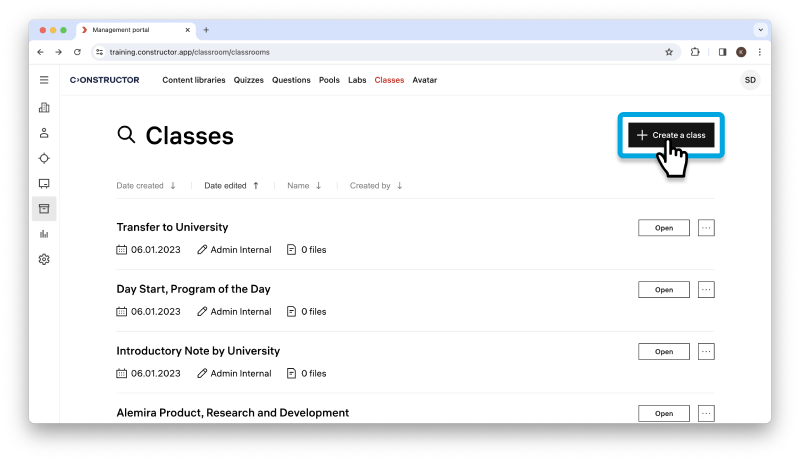
- To create a new class, click Create a Class.
- Provide a name and description for the class. To upload a cover, click Upload cover and select the image. Wait until the cover is uploaded:

- Scroll down and click Save and add failes:

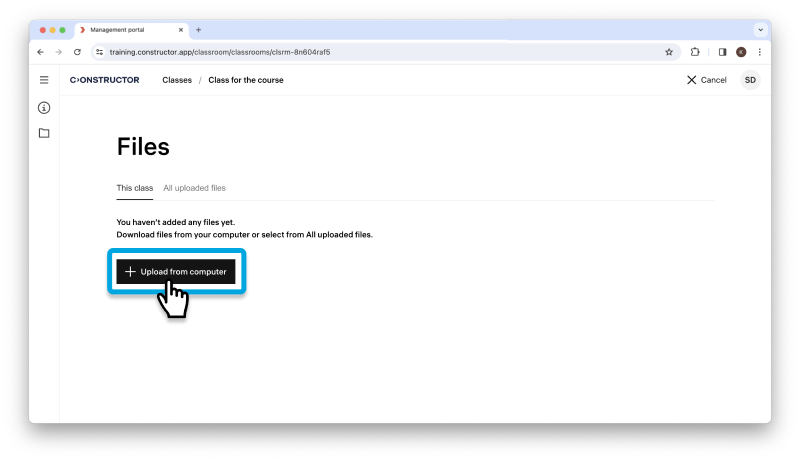
- To upload the files, click Upload from computer and select a PDF file for the demo.
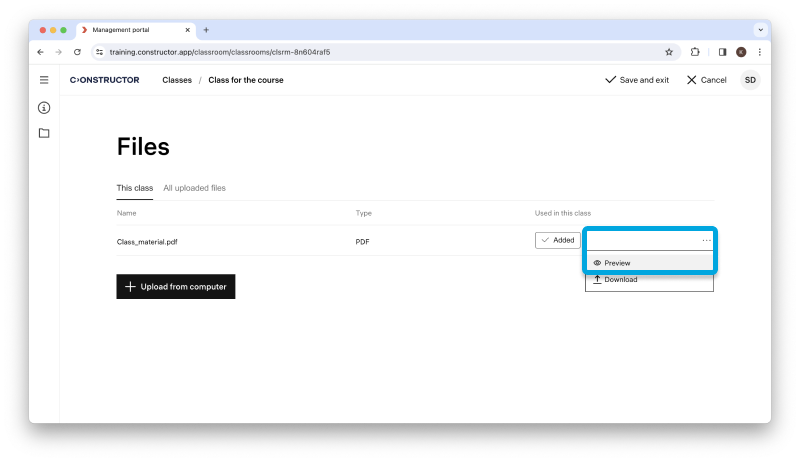
- You can view the preview and download the file. Click on the three dots:
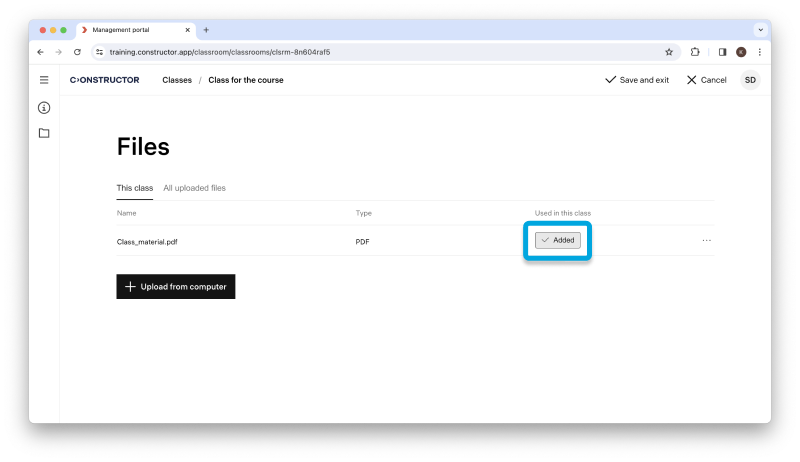
- To delete the file, click Added:
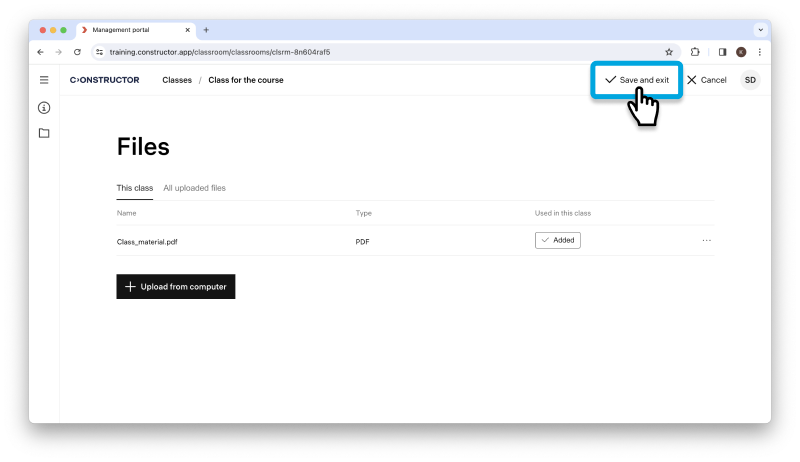
- When you are ready, click Save and exit in the top-left corner.
You will be redirected to the Class page, where you can find your class at the top of the list.